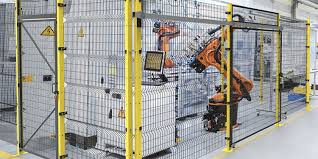
When you’re mounting safety-critical equipment like machine guards or light sensors, the “vibration factor” is usually the biggest decider between mechanical and chemical fixes. The floor of a factory isn’t just a surface; it’s a vibrating mass. Choosing the wrong bolt can lead to “creep,” where the guard eventually wobbles loose.
When it comes to fixing Robotics and automation it is rather more complicated. Each robotics manufacturer has their own preferences for anti-vibration bolting down and this will be stipulated on the initial order. For guarding and ancillary protection it can come down to the Customers preference or normal use, even Project engineers have their own personal choice that they have previously used successfully.When securing automation and robotics to a factory floor, the choice between chemical resin anchors and mechanical expansion anchors is often dictated by the dynamic nature of the load. While expansion anchors are standard for static structures like racking, high-performance industrial robots typically require chemical resin systems due to their superior resistance to vibration and cyclic stress.
Choosing the Right Fixing Solution
| Fix Type | Best For… | Why Use It? |
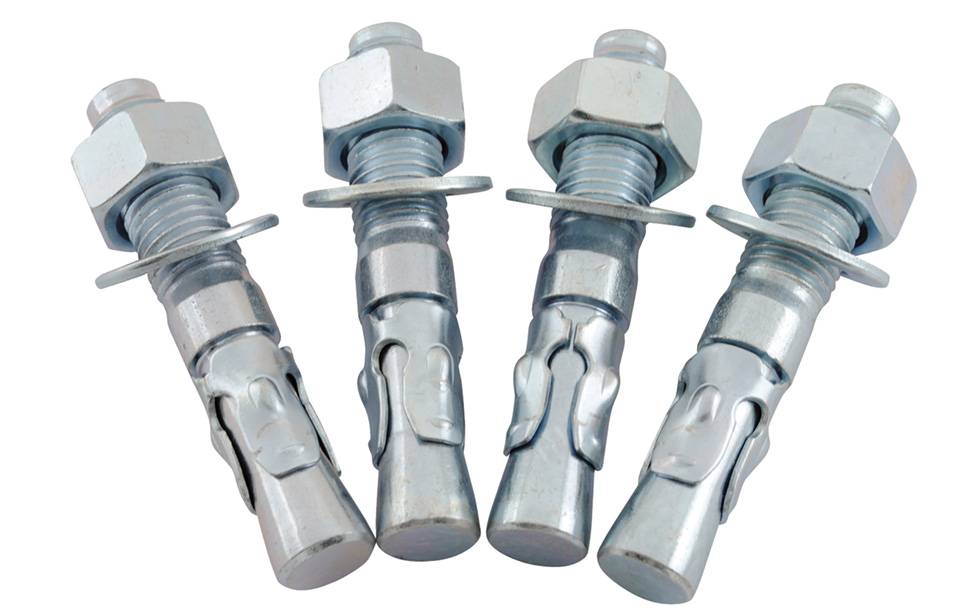
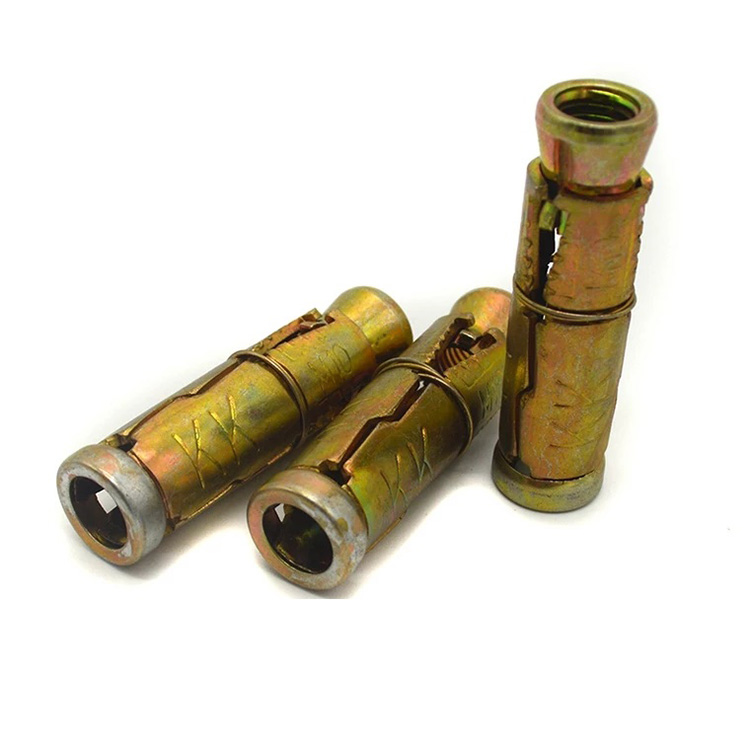
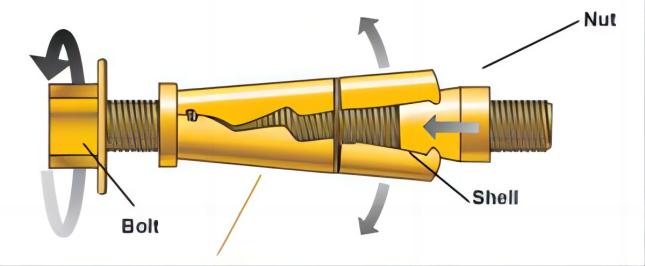
| Anchor Bolts (Expansion) | Fixed machine guards and heavy barriers. | Mechanical Grip: As you torque the bolt, the sleeve expands against the concrete. They are fast to install and can be loaded immediately. |
| Chemical Mix (Resin) Bolts | Vibrating machinery or fixing close to edges. | Stress-Free: Unlike expansion bolts, resin doesn’t put “bursting” pressure on the concrete. It bonds the stud to the material, making it air-tight and waterproof. |
| Concrete Screws (Self-Tapping) | Light sensors, cable trays, or lightweight kick plates. | Removability: They thread directly into the concrete. Great if you think you might need to relocate the sensor or guard later without leaving a stud sticking out of the floor. |
To keep it plain and practical for the trades people given the task of drilling the floors, the distinction usually comes down to vibration and margin for error, and we can break it down into three main “real-world” reasons:
1. Vibration and “Powdering”
Mechanical expansion anchors rely on high-pressure friction against the concrete. Because robots are constantly accelerating and decelerating, they create intense vibration.
The Issue: Over time, that vibration can cause a mechanical anchor to slightly pulverize the concrete it’s gripping. Once that “powdering” starts, the anchor loses its tension and the robot base starts to wobble.
The Resin Solution: Resin is “stress-free.” It sits in the hole without pushing outward against the side walls. This is why engineers insist on it when space is tight or when the floor isn’t brand new.
2. Concrete Integrity (The “Edge” Problem)
Expansion anchors put a massive amount of internal stress on the slab as they are torqued down.
The Issue: If you are mounting a robot or a heavy guard rail near a floor joint, a crack, or the edge of a pit, an expansion anchor acts like a wedge and can split the concrete.
The Resin Solution: Resin is “stress-free.” It sits in the hole without pushing outward against the side walls. This is why engineers insist on it when space is tight or when the floor isn’t brand new.
3. Protection Against Fluids
In many factories, floors are washed down or there are coolant leaks.
The Issue: Expansion anchors leave tiny gaps where moisture can seep in, leading to rust inside the hole which eventually weakens the fix.
The Resin Solution: The resin completely seals the hole. No air or liquid can get down there, meaning the bolt won’t corrode from the inside.
NOTE: It is worth remembering that while resin is more “bulletproof,” it requires much stricter discipline:
Hole Cleaning: A resin bolt is only as strong as the dust removal. If the hole isn’t blown and brushed out, the glue sticks to the dust, not the floor.
Cure Time: Unlike mechanical bolts that can be loaded immediately, they have to respect the “wait time” for the resin to kick, otherwise, the bond is ruined.
Why Chemical Resin is Often Required
For industrial robots, chemical resin (adhesive) anchors are frequently the preferred or required solution because of how they interact with the concrete substrate.
Vibration and Fatigue Resistance: Industrial robots generate significant dynamic loads and constant vibration. Mechanical expansion anchors rely on friction and localized pressure against the concrete walls. Over time, these vibrations can cause the concrete to “powder” at the contact points, leading to anchor loosening (Alphatec Engineering, 2025; Oman Ocean, 2025). Chemical resins create a continuous, bonded seal that distributes the load across the entire surface of the hole, drastically reducing fatigue failure.
- No Expansion Stress: Mechanical anchors create internal “hoop stress” as they expand. If a robot is mounted near a floor edge or another anchor, this stress can cause the concrete to crack or spall. Chemical anchors exert no expansion pressure, allowing for closer spacing and edge-distance mounting (Tengyu Sealant, 2025).
- Cracked Concrete Performance: Heavy industrial environments often have “cracked” concrete (micro-fissures from age or loading). Most standard expansion anchors lose significant holding power in these conditions. Specialized epoxy resins are specifically rated for cracked concrete, maintaining bond integrity where a mechanical anchor might slip (Alphatec Engineering, 2025).
Engineering & Safety Considerations
What we have to refer back to is that the “requirement” usually stems from the Robot Manufacturer’s Installation Specifications and international safety standards such as ANSI/A3 R15.06-2025 (A3 Association, 2026).
Torque and Moment Forces: A robot’s stability isn’t just about its weight ($F_z$); it’s about the moment (torque) generated at the base when the arm is at full reach with a maximum payload ($T_B = T_M + m_{PL} \cdot g \cdot R$) (Vention, 2025). The anchor must resist these “prying” forces repeatedly without shifting.
Hole Preparation: The success of a chemical anchor is 90% preparation. Unlike expansion anchors, the hole must be meticulously cleaned (brushed and blown out) to ensure the resin bonds to the concrete and not to drilling dust (MDPI, 2020).
- Curing Time: A critical blog tip: you cannot “hot-swap” a robot onto fresh chemical anchors. They require a curing period that varies by temperature.
Securing a heavy, moving robot or automation cell to a factory floor isn’t just about keeping it from tipping over—it’s about rigidity, vibration dampening, and long-term fatigue resistance. When a 6-axis robot pulls a high-speed emergency stop, the dynamic leverage forces (turning moments) at the base are massive.
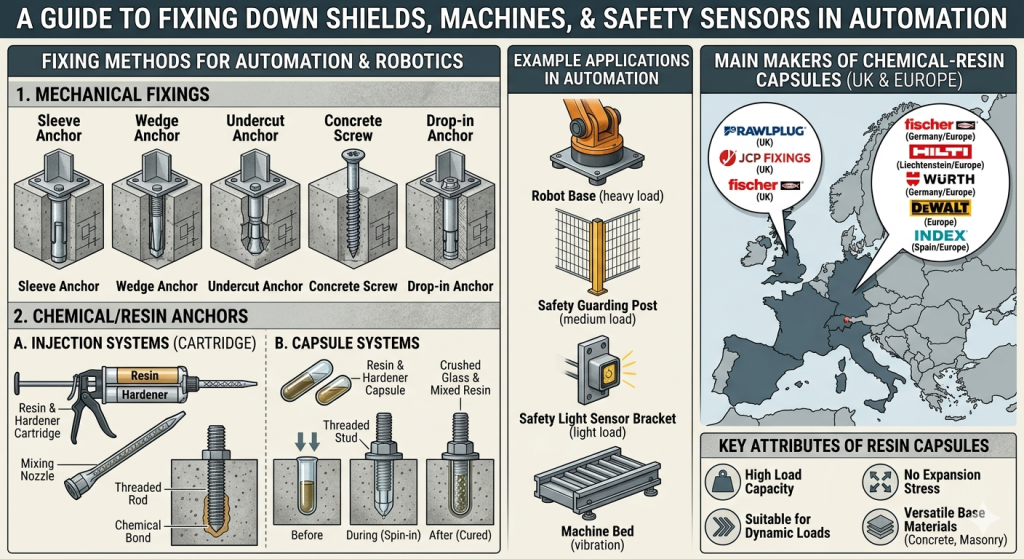
If you want the “perfect” technique, B) Chemical-resin capsules paired with threaded studs is the industry gold standard for high-dynamic automation, with D) Resin out of a tube (injection) as a very close, often more practical second.
Here is an analysis of your options and the exact blueprint for a perfect installation.
1. The Winner: Chemical Resin (Capsules or Injection)
Whether you use a pre-measured glass capsule (Option B) or an injection tool (Option D), chemical anchoring is the superior choice for robotics.
How it works: A hole is drilled, filled with epoxy/vinylester resin, and a threaded rod is inserted. The resin bonds to both the concrete aggregate and the steel rod, essentially making the anchor an integral part of the floor.
Why it’s perfect: It creates zero expansion stress on the concrete. Mechanical anchors exert constant outward pressure, which can cause the concrete to crack over time under the intense, repetitive vibrations of a robot. Chemical anchors distribute the load evenly across the entire depth of the hole.
2. The Runner-Up: Metal Expansion Anchors (Option A)
The Verdict: Great for static loads (conveyors, safety fencing, control cabinets), but not recommended for high-dynamic robots.
The Risk: The constant micro-vibrations and structural reversals (pushing and pulling) of an active robot can cause mechanical expansion anchors to slightly work themselves loose over time. Once an anchor loses its torque, the robot’s accuracy drops, and the hole begins to degrade.
3. The Rejected: Screws into Concrete (Option C)
The Verdict: Absolutely not for robotics. Concrete screws (like Tapcons) rely on threads cutting into the concrete. They are excellent for structural framing, pipe brackets, or light machinery, but they will quickly shear or strip out under the high torque and dynamic shifting of an automation arm.
The “Perfect” Step-by-Step Installation Technique
If you are anchoring an industrial robot or heavy automation, this is the exact engineering procedure you should follow:
Step 1: Core Drilling (Not Hammer Drilling)
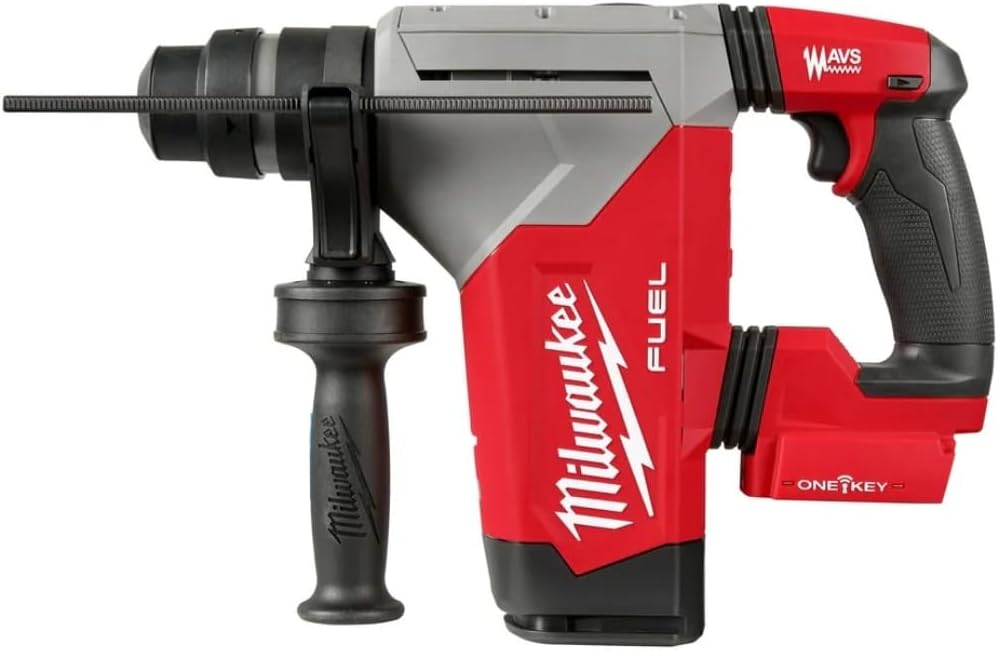
While a rotary hammer drill is faster, a diamond core drill creates a perfectly smooth, round hole without creating micro-fractures in the surrounding concrete matrix.
Note: If using chemical resin, some manufacturers actually prefer a hammer drill because the rougher hole surface provides better mechanical interlock for the glue. Check your resin spec sheet.
Step 2: The “Blow-Brush-Blow” Cleaning Method (Critical)
90% of chemical anchor failures are due to poor hole cleaning. Dust acts as a release agent, preventing the resin from bonding to the concrete.
Blow the dust out using compressed air with an extension nozzle reaching the bottom of the hole.
Brush the hole thoroughly with a steel wire bottle brush to scrub the sidewalls.
Blow it out again. Repeat until absolutely no dust exits the hole.
Step 3: Chemical Capsule vs. Injection Tube
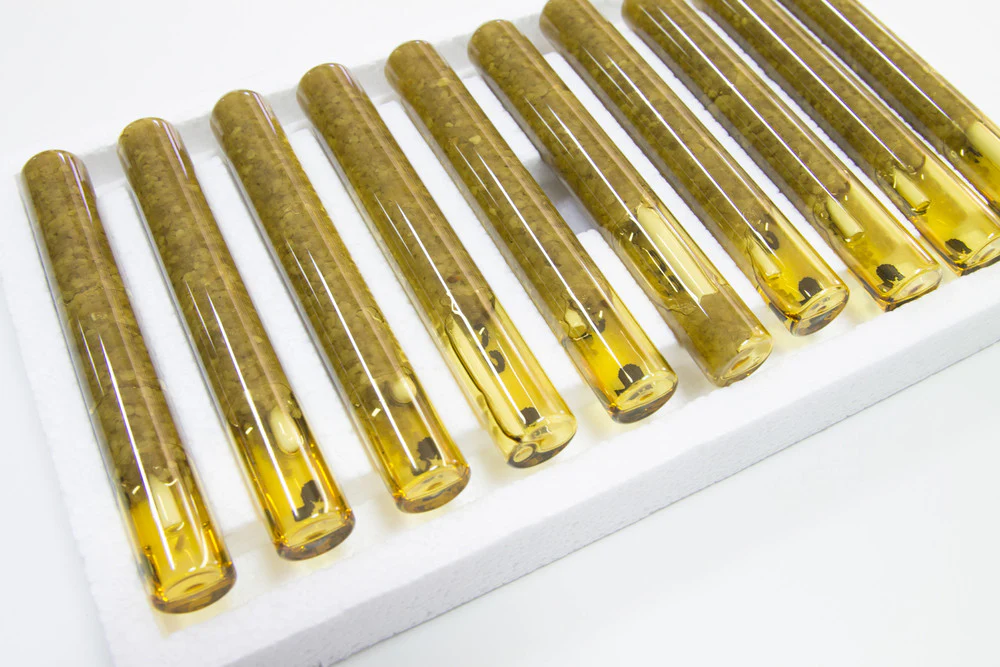
Capsules (Option B): Best for vertical, downward holes where you want zero waste and exact mixing. You drop the glass capsule into the hole, attach the threaded stud to a rotary hammer drill, and drive it in. The spinning stud breaks the glass and perfectly mixes the resin and hardener.
Injection Resin (Option D): Better if you are doing dozens of holes or dealing with irregular depths. You pump the resin through a mixing nozzle directly into the back of the hole, then insert the stud by hand with a slow twisting motion to prevent air pockets.
Step 4: The Fixture Isolation (Vibration Dampening)
To achieve a truly “perfect” setup, do not bolt the robot’s steel baseplate directly to the bare concrete.
Use a high-strength, non-shrink epoxy grout bed underneath the baseplate.
This ensures 100% surface contact between the steel plate and the uneven concrete floor, eliminating any microscopic rocking and dampening high-frequency harmonic vibrations from the robot’s motors.
Step 5: Precision Torquing
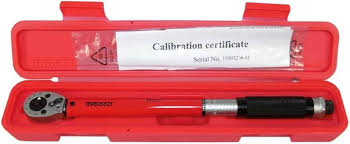
Once the resin has fully cured (cure times depend heavily on ambient floor temperature), slide the robot base over the studs. Use a calibrated torque wrench to tighten the heavy-duty structural nuts to the exact manufacturer specification. Use a double-nut or a nylon-locking system to ensure vibrations never back the nut off.
Summary Comparison for Factory Floors
| Method | Best Used For | Dynamic Load Rating | Risk of Loosening |
| Chemical Resin (Capsule/Tube) | Robots, CNCs, High-Vibration | Excellent (Highest) | Extremely Low |
| Metal Expansion Anchors | Conveyors, Fencing, Pallet Racking | Moderate | Medium (Under vibration) |
| Concrete Screws | Light brackets, Junction boxes | Low | High (Will strip) |